
Homemade whole wheat bread for beginners
Course: Side dishCuisine: Ghanaian, West AfricanDifficulty: Easy5
servings25
minutes50
minutes1
hr15
minutes1
hour15
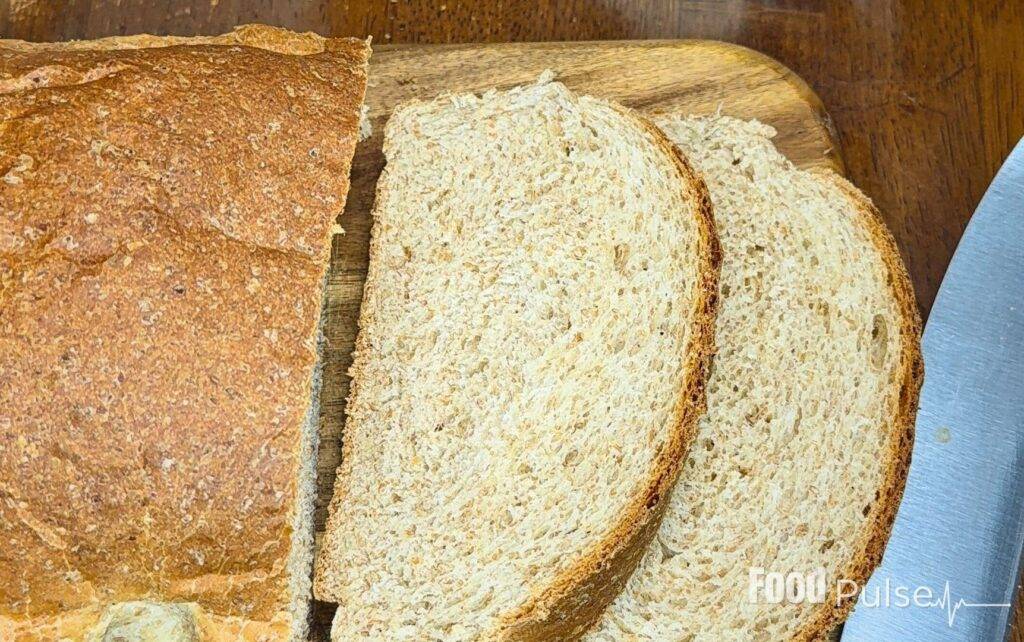
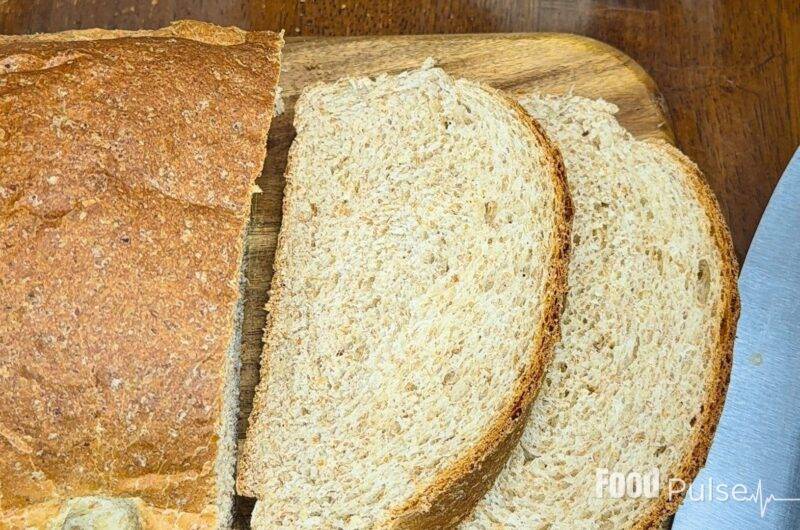
minutesThis is a homemade whole wheat bread recipe for absolute beginners.
Ingredients
- Dry ingredients
2 cups whole wheat flour
¾ cup unbleached all purpose flour + some more (separate) for working the dough
¼ cup sugar
1 tsp salt
½ tsp grated nutmeg
2 ¼ tsp instant dry yeast
- Wet ingredients
¼ cup unsalted butter
½ tsp pure vanilla extract
¼ cup evaporated milk
1 cup warm water
Vegetable oil as needed
- Equipment
Clean napkin
Wooden ladle
Clean work surface
Ingredient bowls
A large mixing bowl
Measuring cups & spoons
A bowl of slightly smaller or similar size as mixing bowl
Directions
- Measure all your ingredients into separate ingredient bowls.
- Combine the flours, sugar, salt, and nutmeg in the large bowl and mix well.
- Then add yeast and mix well to prevent direct contact with salt.
- Add butter, vanilla, and evaporated milk to dry ingredients. Gradually add warm water (should feel like baby's bath water). Mix until shaggy dough forms.
- Transfer to floured surface. Knead until dough bounces back when gently poked and feels less sticky. Focus on feel, not exact timing.
- Shape into ball, place in oiled bowl. Cover tightly with towel and bowl. Let double in size in warm spot (about 1 hour).
- Press dough to release gases. Divide in half. Shape each into rectangle, roll tightly, place seam-down in greased pans.
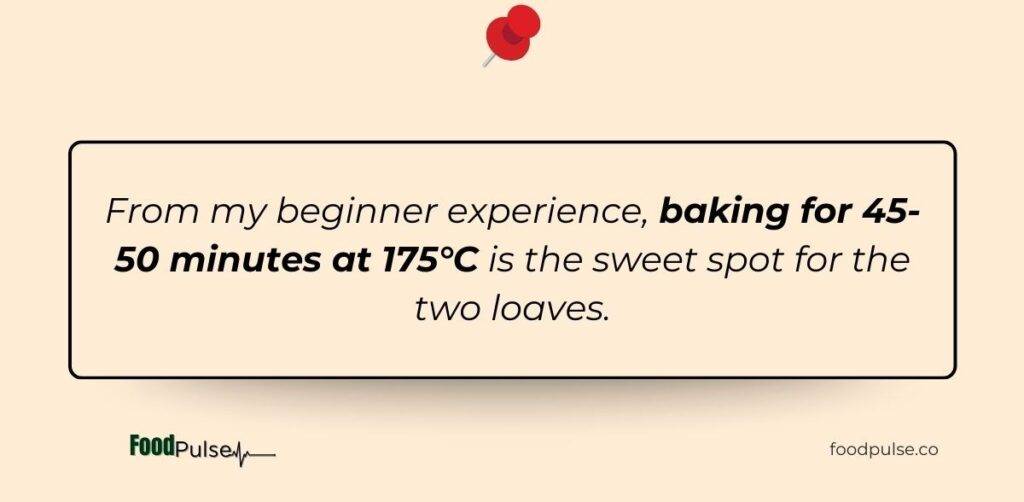
- Cover and let rise until puffy (not quite doubled). Meanwhile, preheat oven to 175°C (347°F).
- Bake until golden brown and bottom sounds hollow when tapped.
- Cool in pan for 10 minutes, then turn out. Cool completely before storing.
Notes
- Water temperature: should be warm to feel comfortable dipping your finger in. Too hot kills yeast, too cold won't activate it
- Kneading readiness test: Knead until dough bounces back when gently poked. Focus on feel and visuals, not the timing.
- Salt adjustment: if using salted butter, reduce salt to ¼ tsp
- Rising cues: First rise = doubled in size (about 1 hour); Second rise = puffy but not quite doubled (15-20 min)
- Doneness test: Golden brown top + sounds hollow when you tap the bottom (remove from pan first with mitts on)
- Key note: Well-baked (even slightly over-baked) is better than under-baked

Etornam is a Food Systems Research Engineer with a generous passion for healthy food. She’s the Founder of FoodPulse, a speaker and currently conducts doctoral research at McGill University on consumer food systems. She helps the everyday consumer navigate the modern food environment with confidence. She loves teaching, gardening and developing new recipes. Learn more by Etornam